Description
Professional Monotub Fruiting Chambers in Three Sizes: Small, Medium and Large
Finally, different sizes of hard monotubs are here.
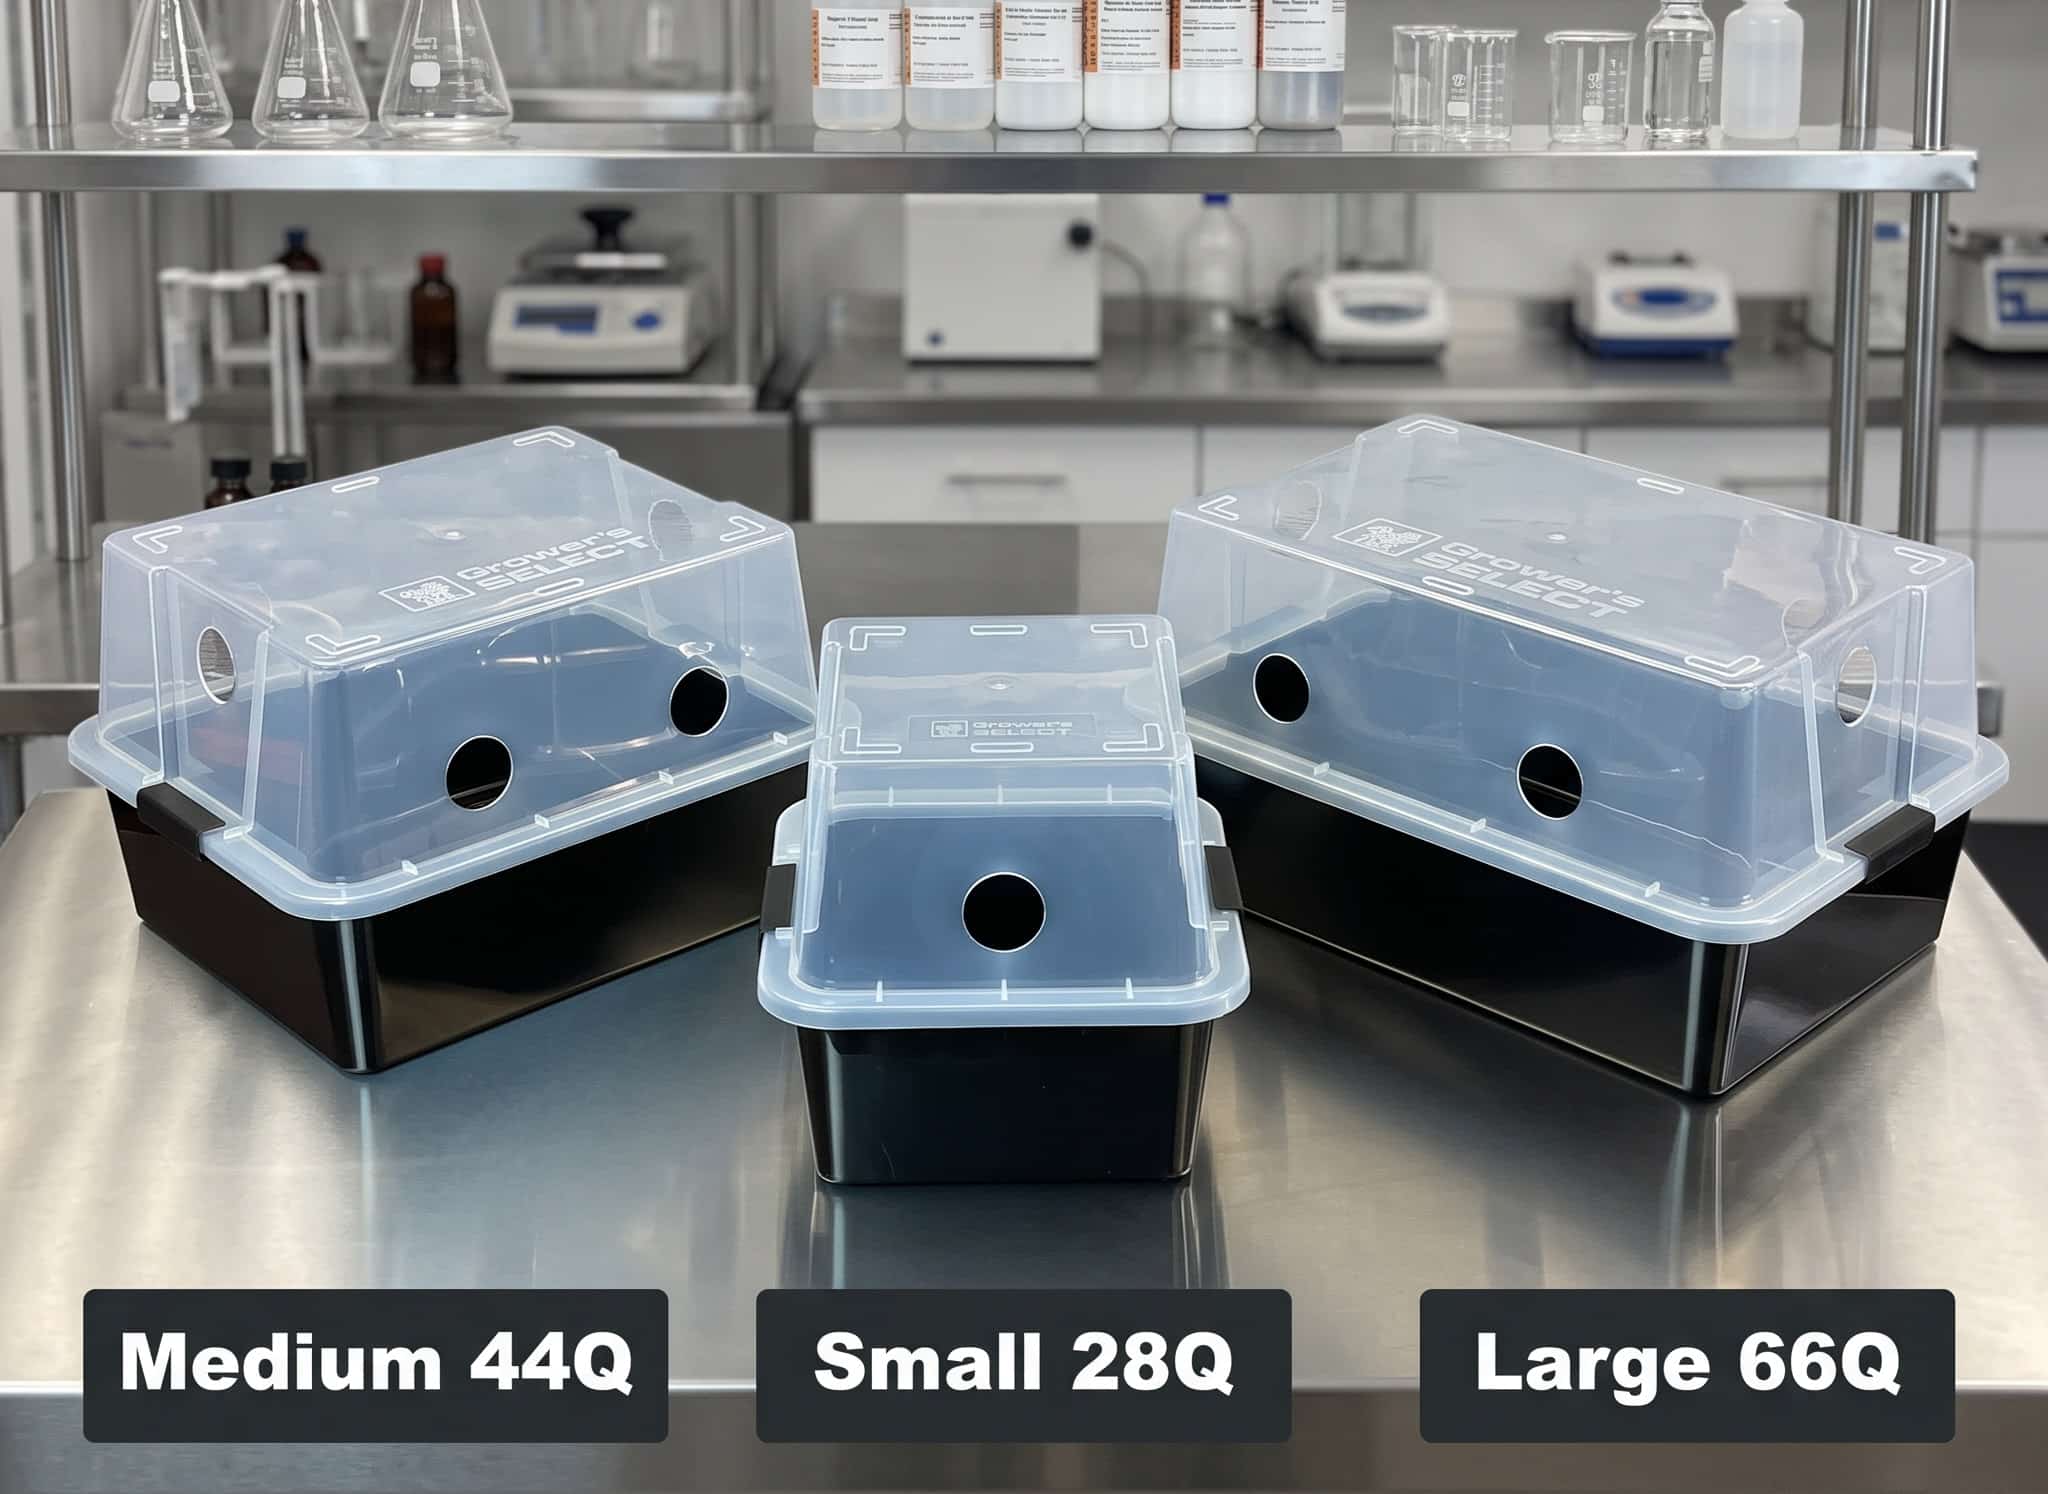
The Grower’s Select Monotub range gives you professional bulk growing performance at every scale. Simply choose your size from the dropdown: the compact 25 Litre Small, the perfectly balanced 40 Litre Medium, or the high-capacity 60 Litre Large.
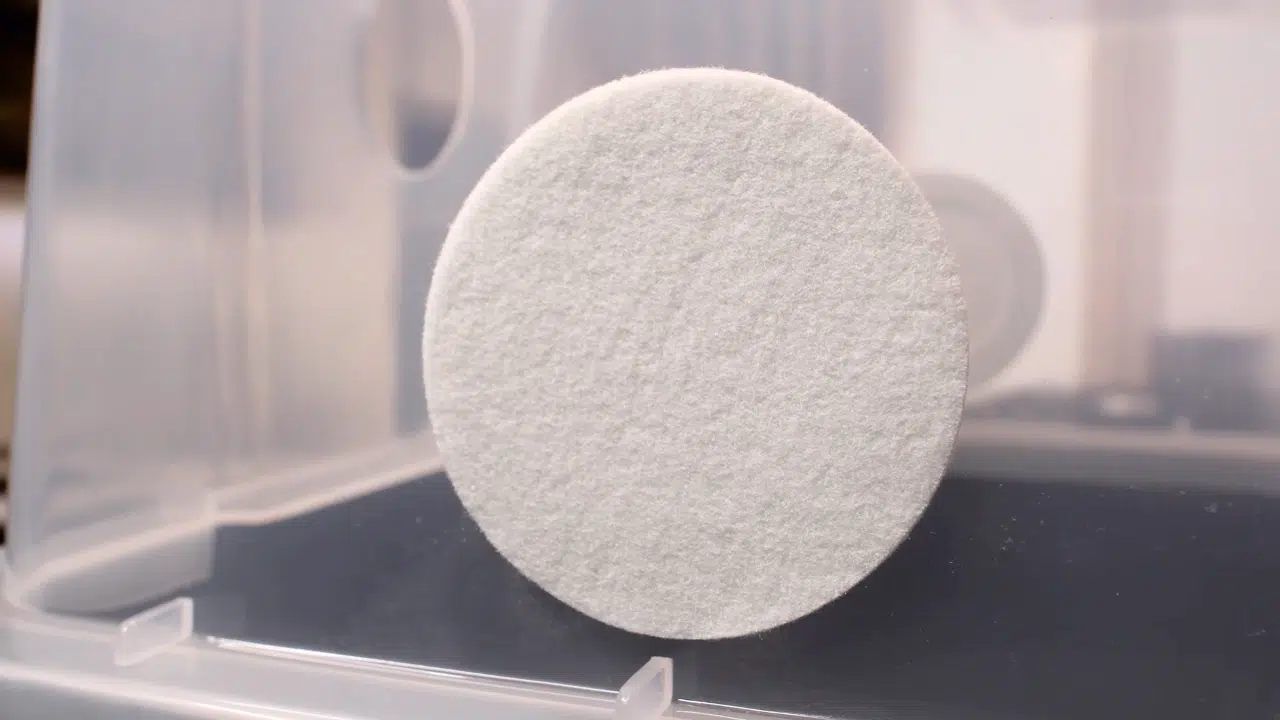
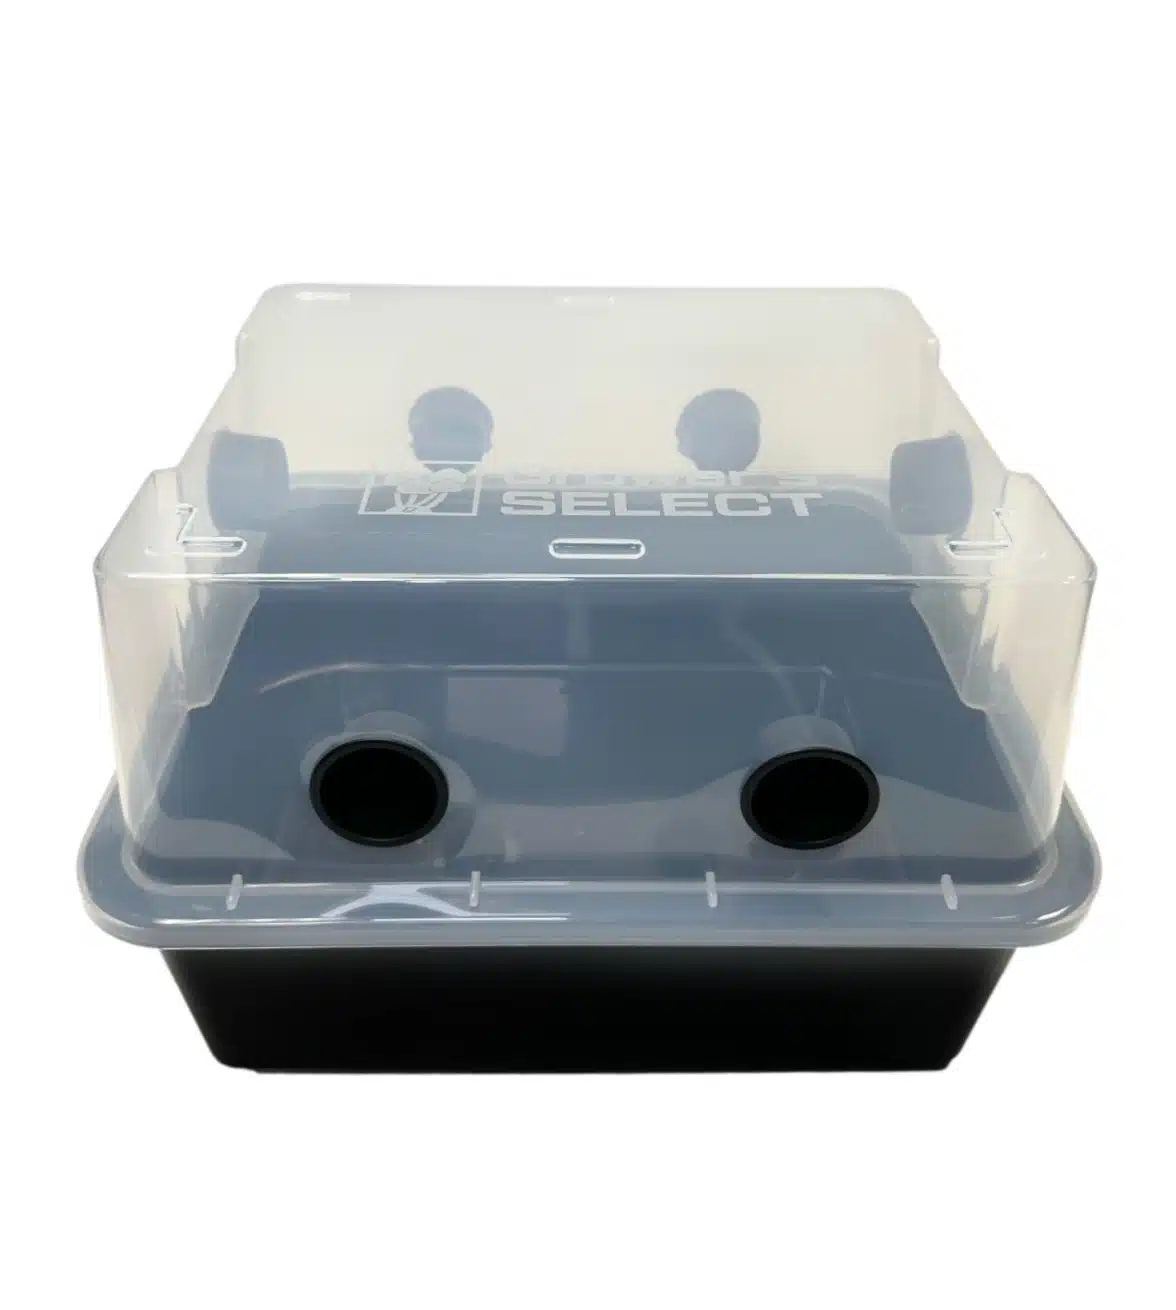
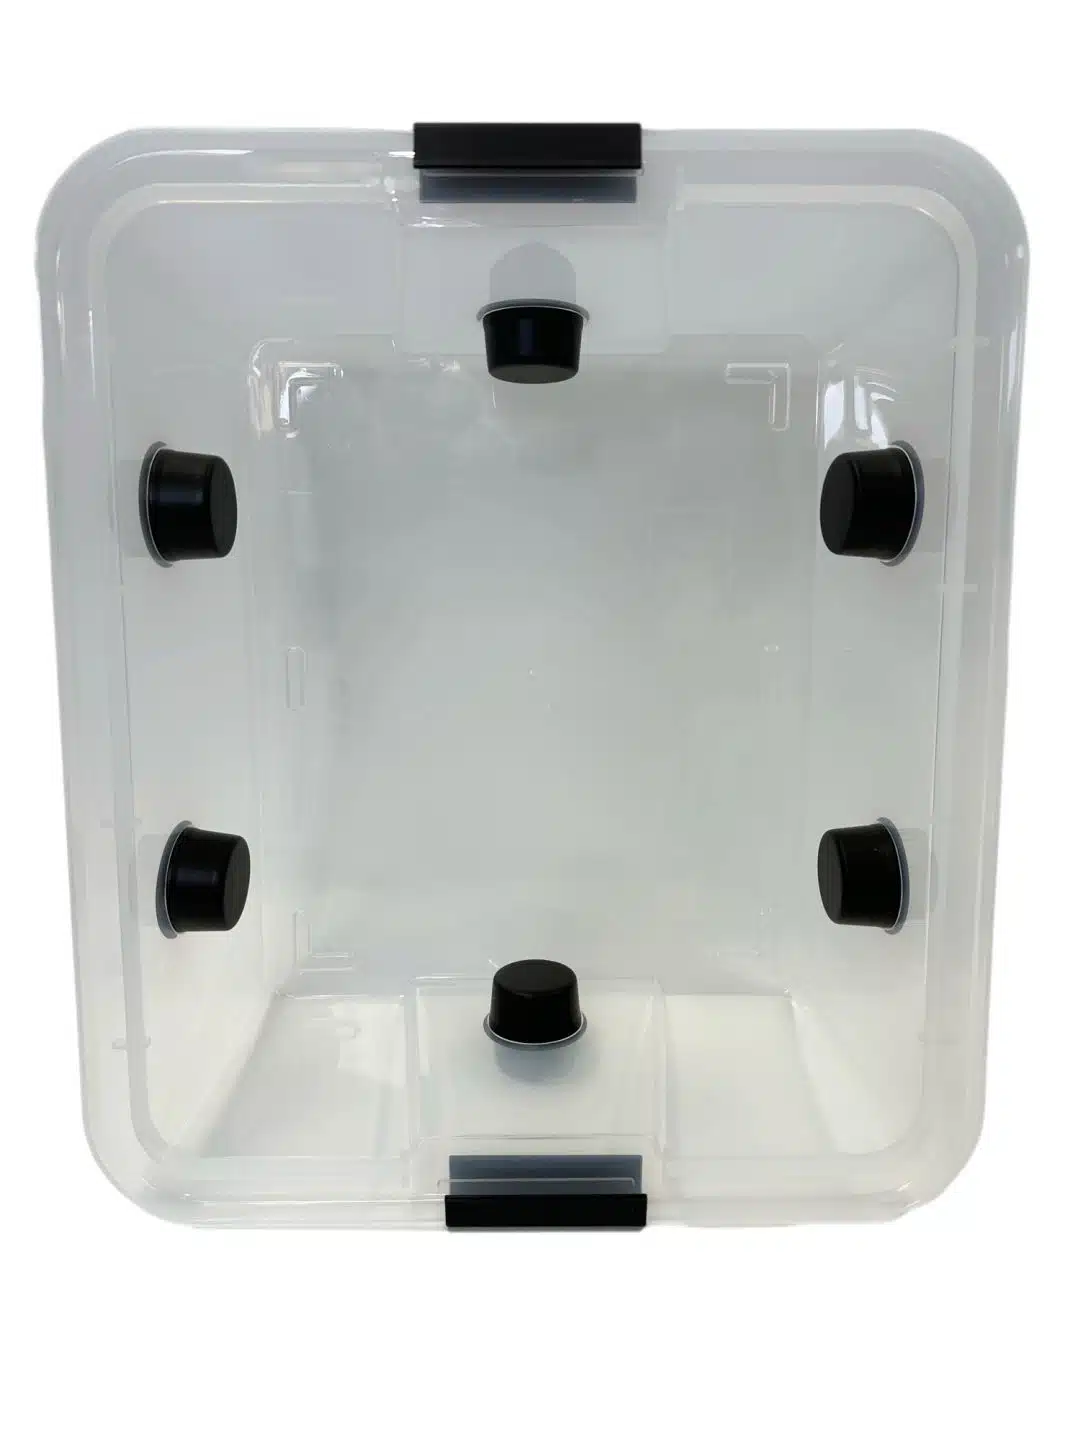
Every tub is moulded from super-dense polypropylene for durability and long-term reusability, with strategically placed air exchange ports, premium adhesive filter disks, removable hole plugs and a custom pre-cut liner. The reinforced, stackable design creates a stable fruiting environment while minimising contamination risk, and lets you safely run multiple tubs in tight grow spaces.
Choose Your Size
- Small (25L): Extremely compact and space-saving. Perfect for small grows, strain testing, beginners and limited-space setups; up to 10 tubs can be safely stacked.
- Medium (40L): Our favourite for a decent size yield in a hard, durable design. The ideal step up from jars and the go-to size for home growers.
- Large (60L): For experienced growers chasing a mega harvest. Built for high-yield grows, larger flushes and stacked grow setups.
What’s Included
- 1 × Custom Moulded Polypropylene Monotub in your chosen size
- Adhesive Filter Disks (4 × with the Small, 6 × 6.5cm with the Medium and Large)
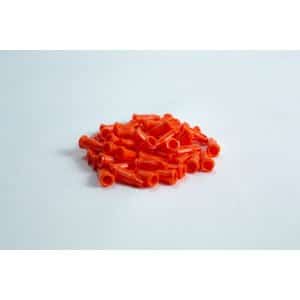
- Hole Plugs for incubation and airflow control (4 × with the Small, 6 × with the Medium and Large)
- Custom Pre-Cut Monotub Liner
Why Grow with a Monotub?
Monotub fruiting chambers are one of the most efficient and beginner-friendly ways to grow mushrooms in bulk. By maintaining stable humidity and filtered fresh air exchange, monotubs support dense canopy formation and dependable flushes without complicated equipment.
The hole plugs are used during the colonisation stage and the filter disks during fruiting, allowing filtered fresh air exchange that induces pinning while keeping contaminants out. The pre-cut liner makes cleanup easy and reduces the chance of side pinning. The Grower’s Select design is trusted by cultivators of all experience levels thanks to its simplicity, durability and scalability.
Recommended Use by Size
- Small (25L): 1kg grain spawn, 2kg bulk substrate and an optional 1kg sterilised casing layer
- Medium (40L): 1kg or 1.5kg grain spawn, 3kg bulk substrate and an optional 2kg sterilised casing layer
- Large (60L): 2kg grain spawn, 4kg bulk substrate and an optional 2kg sterilised casing layer
Note: Recommended amounts are guidelines. Experienced growers may adjust ratios based on substrate depth and species.
This listing is for the tub kit only. You’ll also need grain spawn and bulk substrate, both available in our store. Are you looking to Grow Mushrooms in a Monotub or after other Mycology Tools? Our store has what you need.
Real Results
From the compact Small to the high-capacity Large, these monotubs produce dense, healthy canopies when paired with proper spawn ratios and substrate depth. Controlled airflow and humidity retention create the stable conditions needed for consistent flushes, grow after grow.
Whatever your scale, from a benchtop strain test to a mega harvest, the Grower’s Select Monotub range has the right size for your grow. Pick your size from the dropdown above and get growing.
We also have our Inflatable Monotub range and the Max Yield range on offer too.
How to Use
1) Preparation: Insert the liner, then add your substrate and colonised mushroom spawn in layers, finishing with a substrate layer on top. Use the recommended spawn and substrate amounts for your tub size from the guide above. If you are planning to use a casing layer, do not add it now; it comes later.
2) Colonisation: Fit the black hole plugs into the air ports and leave the tub in a warm spot out of direct sunlight for around 2 weeks. During this phase your substrate will gradually turn white as the mycelium colonises it.
3) Check your tub before moving on:
- If the tub is turning evenly white with no discolouration: All good. Proceed to the casing(recommended)step (optional) as if not using casing you can mist the tub (higher risk). or straight to fruiting once fully colonised.
- If you see green, blue-green or black patches: Your tub is contaminated and there is no saving it. Every first-time grower thinks their tub can be rescued; it can’t. Do not open the tub in your room. Take it outside, open the lid there and discard the contents in your garden. Then reset: wash the tub with hot water and soap, dry it, spray with HOCl (hypochlorous acid), wipe after 10 to 20 minutes, then spray with isopropyl alcohol (no wiping needed, it evaporates). Fit a fresh liner and restart with new spawn and substrate layers.
- Be aware: Some moulds like Trichoderma start off white and only later turn green, so keep checking even when things look right. Most beginners fail when they jump into this hobby with no research beyond a few YouTube videos. Running at least 2 tubs at a time helps spread the risk.
4) Casing layer (optional but recommended): Once your tub has turned fully white, you can add a sterilised casing layer (1kg for the Small, 2kg for the Medium and Large). This is the set-and-forget method: with casing, you don’t have to open the tub frequently to mist, which greatly reduces the likelihood of contamination.
5) Fruiting stage: Swap the plugs for the air filters. The filters let you fine-tune the amount of fresh air exchange to suit the growth stage; this gas exchange is what induces pinning and mushroom formation. If you did not use a casing layer, maintain surface conditions of very fine, tiny water droplets with our heavy-duty atomiser spray. Mist as frequently as required so the tiny droplets always stay on the surface, and stop misting when pins start to form.
6) Harvest and second flush: Harvest your mushrooms as they mature, before the caps flatten out. After the complete harvest, mist the tub heavily with about 150ml of water. It may appear too wet at first, but the water will soak in overnight, and your second flush will start in 7 to 10 days. Keep the same air filters on the tub throughout; there’s no need to change them. When you’re finished growing, the liner makes cleanup a breeze; simply lift it out.
Replacement air filters, plugs and liners are all available individually from the options above, so your tub stays in service grow after grow. Please remember: if you come back later for replacements, search for this listing rather than typing “liners” in the search bar, as we have all the options combined in this one listing.
Are you looking to Grow Mushrooms in a Monotub or after other Mycology Tools? Our store has what you need. We also offer a premium kit with everything you will need for your project; check it out on the Monotub Mushroom Growing Kit.
If you’re looking for a dependable, hard-wearing monotub that delivers professional results at any scale, the Grower’s Select Monotub range is the perfect choice.