Showing 1–20 of 32 resultsSorted by popularity
How to Create Liquid Culture: A Step-by-Step Guide for Mushroom Growers
Liquid culture is essential for mushroom growers who want faster and more consistent results. It simplifies the inoculation of grains, enabling you to create your grain spawn without requiring advanced lab equipment. This method is cost-effective, reliable, and ideal for cultivating mushrooms like oyster and lion’s mane.
In this guide, we’ll cover everything you need to know, from preparing liquid culture to properly inoculating grain. We’ll also share some tips and tricks to ensure your success.
No pressure cooker? Check out our blog on how to sterilise liquid culture using a microwave.
What Is Liquid Culture?
Liquid culture is a nutrient-rich solution designed to support the growth of mushroom mycelium—the vegetative part of fungi. When adequately sterilised, it provides the perfect environment for mycelium to thrive. This culture is commonly used to inoculate grains, which then develop into grain spawn—similar to how seeds grow into plants.
Think of spores as seeds and liquid culture as about two weeks old young seedlings.
The Liquid Culture Process
You can start liquid culture in two ways:
- From a spore print to an agar plate
- Using an existing liquid culture
Why Can’t Liquid Culture Be Added Directly to Substrate?
While it may seem logical to introduce liquid culture directly to a growing substrate, doing so is generally not recommended. However, some fast-colonising species like reishi and oyster mushrooms may tolerate this approach. Here’s why it’s best first to inoculate grains:
- Better Growth EfficiencyWhen liquid culture is added to a large substrate (e.g., sawdust and soy pellets), the small amount of mycelium must spread over a vast area. This slows growth and may lead to weaker mycelium that produces lower yields.
- Moisture BalanceSubstrates are prepared with an optimal moisture level for mycelium growth. Adding liquid culture directly can make them too wet, increasing the risk of contamination and poor mycelial health.
- Faster ColonizationGrain spawn provides multiple inoculation points, allowing mycelium to spread quickly. Liquid culture alone lacks these points, slowing colonisation.
- Efficient Substrate BreakdownMycelium extends hyphae (delicate root-like structures) to form bridges between particles. Because sawdust particles are tiny, creating hyphae in millions of sawdust particles takes a very long time; adding grain spawn with hundreds of inoculation particles can speed up this process
Many growers use pasteurised (not fully sterilised) substrates. Pasteurisation only kills active organisms, leaving spores that can germinate if mycelium doesn’t colonise the substrate quickly. Grain spawn ensures rapid colonisation within this critical two-week window.
Now that you understand why liquid culture shouldn’t be added directly to the substrate let’s go over how to make your own liquid culture!
Advantages of Using Liquid Culture for Mushroom Cultivation
1. Easy to Use
Liquid culture is a simple and beginner-friendly technique that can be done right on your kitchen counter without needing specialised equipment.
2. Budget-Friendly
With just basic ingredients like water and honey, liquid culture is an affordable way to grow mushrooms, significantly lowering cultivation costs.
3. High Success Rate
Since liquid culture minimises contamination risks, it provides a reliable method for growing mushrooms successfully.
4. Faster Colonisation
Unlike spores, which need time to germinate, liquid culture consists of actively growing mycelium. This leads to quicker colonisation of grains, accelerating the overall process and boosting yield. If you were to use spores instead, colonisation would take approximately two extra weeks.
5. Contamination Control
Liquid culture is created from a verified clean agar plate and can be further tested on a MEA agar plate, ensuring the culture remains contamination-free.
Step-by-Step Process for Making Liquid Culture
Step 1: Growing Spores on Agar
- Never introduce spores directly into a liquid culture, as they often carry contamination.
- On agar, mycelium and contaminants will grow separately. Mycelium appears white, while contaminants may start white and then change colour or be a different colour from the start.
- Wait at least five days to observe any contamination before proceeding as some contamination may start white and later change colour in few days.
Step 2: Isolating Healthy Mycelium
- Transfer mycelium to a fresh agar plate to separate it from potential contaminants, a process known as “isolation.”
- Even if no contamination is visible, this step ensures a pure culture.
- The transfer is taken from the leading edge of the mycelium, not the centre.
Tip: Spores are usually first grown on a MEAG (Malt Extract Agar with Gentamicin) plate since it has antibacterial properties that help eliminate bacteria in the spore print. Afterwards, the culture is transferred to an MEA plate (Malt Extract Agar), which lacks antibacterial components, allowing everything to grow freely for further verification.
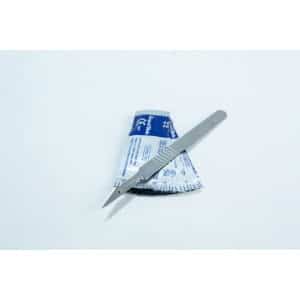
For this purpose, it’s best to purchase a spore-to-agar kit from our store.It comes with a scalpel, sealing film, and 5 MEA and 5 MEAG plates.
Step 3: Preparing the Liquid Culture Solution
- Weigh the sugar you are using and dissolve it in 600 ml of distilled water. Either make a 2% sugar mix or a 4% sugar mix. We prefer a 2 % mix if you use LC within 3 months and a 4% mix for 6-12 months of storage.
- Stir until fully dissolved.
- Pour the solution into a sterile jar, adding a magnetic stir bar or marble to assist with mixing.
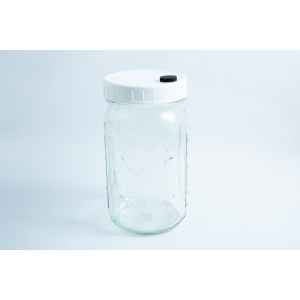
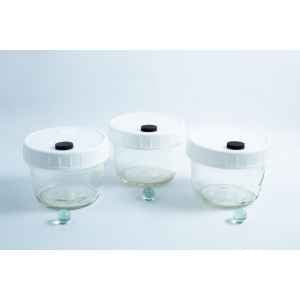
Step 4 Sealing the Jar
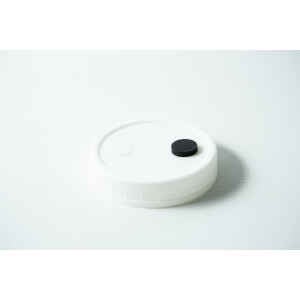
- Secure the jar with an airport lid (or mycology lid).
- Cover the lid with aluminium foil to prevent air filter to get wet.
Step 5 Sterilisation Process
- Place the jar in a pressure cooker.
- Sterilise at 15 PSI for 45 minutes to eliminate contaminants.
Step 6 Cooling and Checking for Leaks(Important)
- Allow the jar to cool ( till it is warm to touch) before handling.
- slightly warm plastic lids can be tightend more thatn a cool lid and once it cools down it create a very tight seal when screwed on, enhancing airtightness.
- Testing the Seal:
- Gently tilt the jar to check for leaks.
- Press on the air filter and injection port to ensure they remain securely in place after sterilisation.Use clean towel or tissue to press on them firmly. Teh air filter or inj port sometimes can loosen from pressure but pressing them again ensures they are tight.
Step 7 Quality Control: Shelf Stability Check
- Let the sterilised jars sit on a shelf for 2–3 weeks before use.
- It indicates improper sterilisation or sealing issues if they become cloudy during storage.
- This pre-check helps identify contamination before inoculation, ensuring a more reliable process.
Step 8 Preparing for Inoculation
- Sanitise your workspace using 70% isopropyl alcohol.
- Shake the liquid culture syringe to distribute mycelium evenly.
- Or keep the colonised plate ready with scalpel
Step 9 Inoculating the Liquid Culture
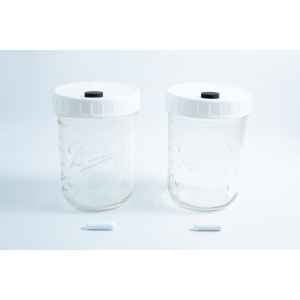
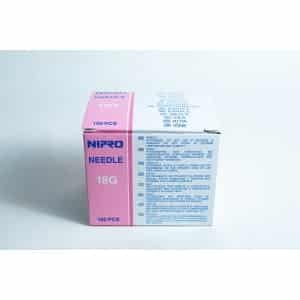
- Attach a sterile needle to a pre-tested liquid culture syringe.
- Inject the culture into the jar through the injection port (use 1ml up to 10% of the total liquid for faster colonisation, for example, 60ml of LC with 600ml of water
- Alternatively, you can use an agar plate:
- Cut a quarter-sized agar wedge with a sterile scalpel.
- Quickly transfer it into the jar to minimise contamination risk.
Watch our popular video on YouTube about how to preserve the strength and vigour of your mycelium.
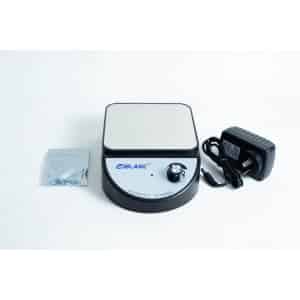
Step 10 Agitation: Enhancing Growth
- Stir the liquid culture daily using the following:
- A magnetic stirrer
- A manual swirling motion
- A marble (which helps break up mycelium more effectively than stirring alone)
- Rootlab Technique:
- Continuous stirring for 7 days post-inoculation at a low speed significantly speeds up colonisation on a magnetic stirrer machine.
- Keeping the jar in the dark while stirring further accelerates growth.
The mycelium will begin colonising the liquid, growing in a jellyfish-like structure.
At day 7, when the mycelium has grown considerably, you can increase the speed of the magnetic stirrer to work like a mixer grinder. This will chop up the mycelium into thin strands, which will eventually all grow separately and join back together. This will considerably increase the mycelium presence in your jar.
Step 11 Incubation & Contamination Monitoring
- Store at 22–24°C in a dark environment, although dark is not necessary.
- Check for contamination signs:Visual
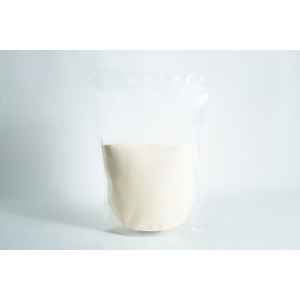
- Healthy Culture: Clear liquid with white mycelium
- Bacterial Contamination: Cloudy solution.
- Mould Contamination: Floating green or dark particles. Something growing on the side of the glass.
Step 12 Testing for Contamination Before Use
- Sanitise the injection port with alcohol.
- Extract a small sample using a sterile syringe.
- Drop it onto an MEA agar plate inside a still air box or laminar flow hood.
- Wait 5 days:
- The liquid culture is safe to use if the agar plate remains clean and white.
- If any other colours or textures appear, contamination is present.
If a culture fails the visual test, it’s discarded; if you are in doubt, it’s discarded. If it passes the visual test without any doubt, an MEA agar test is done for using the culture.
- Once verified as clean, the liquid culture can be drawn into sterile syringes for inoculating grain spawn.
- Never reuse syringes or needles to avoid contamination.
- Store liquid culture in the fridge at 2°C for 3–6 months or even longer.
- To maintain culture health, stir it once or twice a week while stored.
- Some species, like pink oyster and almond mushrooms, should not be stored below 10°C, as cold temperatures can damage them.
It is important to label your jar with the date, species, whether it was agar or liquid culture, supplier, Jaar number, whether it was tested, and when it was tested. Also, put the date and jar number on your MEA agar test.
Step 13: regular Oxygenation and Stirring
- Regular stirring is essential to oxygenate the culture and long term storage]
Essential Ingredients for Liquid Culture
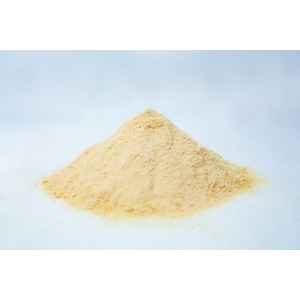
The key component of liquid culture is sugar, which provides the nutrients necessary for mycelium growth. Here are common sugar sources used:
- Light Malt Extract (LME) – Nutrient-rich and clear, making it easy to observe growth.
- Dextrose – A simple sugar that mycelium absorbs quickly for efficient colonization.
- Honey – A natural and readily available option, though it may cause slight cloudiness.
- Glucose Syrup – Can be used as an alternative to honey.
- Peptone – A protein-rich additive that enhances mycelium growth.
Ideal Sugar Concentration:
- The recommended sugar-to-water ratio is 2% (maximum 4%, as higher concentrations become toxic to mycelium).
Liquid Culture Recipes and Ratios
- Basic Recipe (for standard growth)
- 600ml distilled water
- 24g honey or glucose syrup (4% concentration)
- Low-nutrition recipe (For Vigorous Species like Reishi)
- 600ml distilled water
- 7.5g Light Malt Extract
- 2.5g Dextrose
- Supercharged Recipe (Best Overall Growth)
- 600ml distilled water
- 7.5g Light Malt Extract
- 2.5g Dextrose
- 0.10g Bacteriological Soy Peptone
Expert Tip:
- Mycologist Paul Stamets advises that liquid culture can grow on simple sugars like honey or glucose syrup; mycelium thrives best with complex sugars such as dextrose, light malt extract, and peptone for optimal nutrient absorption.
- If using glucose syrup, you can buy it from the baking section of your supermarket (e.g., Queen brand).
At Rootlab, we recommend using our dry supercharged mix that combines multiple sugars and nutrients for the fastest mycelium growth.
Following these steps and using the right ingredients can create a strong, contamination-free liquid culture that enhances your mushroom-growing success! 🍄
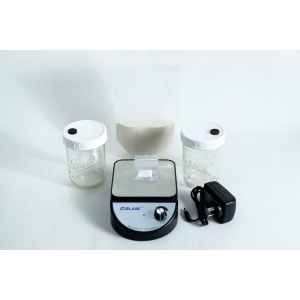
Essential Equipment for Preparing Liquid Culture
To make liquid culture, you’ll need the following supplies:
- Sugar Sources: Light malt extract, dextrose, honey, DLME dry powder, Supercharge mix, or DR MYC Adaptive LC powder
- Inoculation Material: A liquid culture syringe or a colonised agar plate
- Measuring Tools: Digital scale for accurate measurements
- Water: Distilled water to prevent impurities
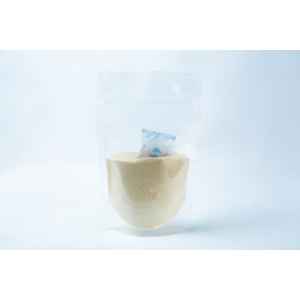
- Jars: Wide-mouth jars (recommended sizes: 250ml, 473ml, or 1000ml)
- Lids: Airport lid/Mycology lid (canning lid with an injection port and air filter)
- Sterilisation Materials: Aluminum foil, 70% isopropyl alcohol, and a pressure cooker
- Mixing Aids: Marble or magnetic stirrer bar (if using a stirrer machine)
- Optional: A magnetic stirrer and stir bar for more effective mixing
Using Liquid Culture for Grain Inoculation
How Much Liquid Culture to Use?
- 5–10 ml per 1kg bag of sterilised grain
- Grain colonisation takes 14–45 days, depending on the mushroom species and growing conditions.
- Ensure LC does not pool at the bottom of the grain bag to prevent contamination. Shake it well post-inoculation. You will notice if the grains are on the drier side or if it is winter; they may need more liquid culture than the grains in summer or if they are wet.
Storage & Shelf Life of Liquid Culture
- Store in a refrigerator at 2°C to maintain viability.
- Shelf Life: 6–12 months (best used within a few weeks for optimal results).
- Do not freeze, as it damages mycelium.
- Stir occasionally (1–2 times a week) to maintain oxygenation.
- Some species, like pink oyster and almond mushrooms, should not be stored below 10°C.
Regular monitoring ensures your liquid culture remains contamination-free for successful mushroom cultivation.
so..
Mastering liquid culture allows for cost-effective, efficient, and contamination-free mushroom cultivation. By following these steps, both beginners and experienced growers can produce healthy liquid culture, leading to better yields and faster colonization. Keep refining your technique, and you’ll have a steady supply of high-quality mycelium for all your mushroom-growing needs! 🍄