Showing 1–20 of 32 resultsSorted by popularity
How to Make Agar Plates: A Quick Guide
Agar plates are essential in microbiology for growing microorganisms. Here’s a brief, step-by-step guide to making them yourself.
Supplies Needed
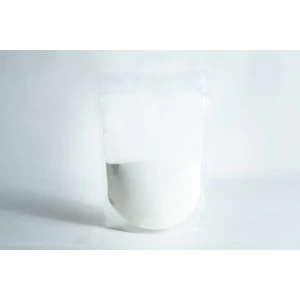
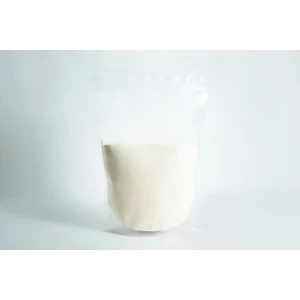
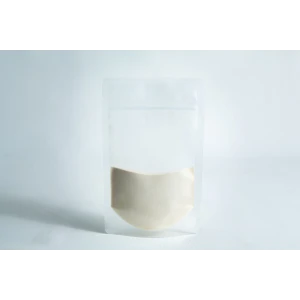
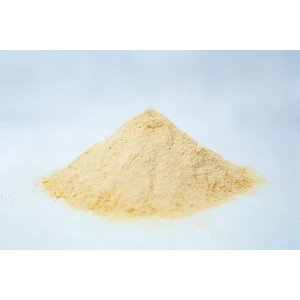
- Agar powder and nutrient broth
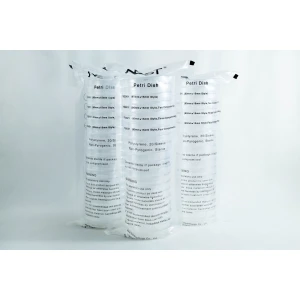
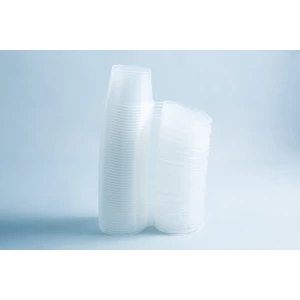
- Sterile Petri dishes (100 mm recommended)
- Heat-resistant glass container (e.g., Erlenmeyer flask)
- Sterilization equipment (autoclave, pressure cooker, or microwave)
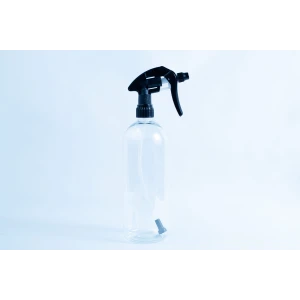
- Gloves, graduated cylinder, alcohol, and disinfectant
Steps
- Prepare the Recipe: For a basic recipe, mix 28g of nutrient agar powder with 1 liter of distilled water in a glass container that’s twice the volume to avoid spilling.
- Sterilize the Mixture: Use an autoclave, pressure cooker, or microwave. Ensure the agar dissolves completely; otherwise, it may be squishy.
- Pour into Petri Dishes: Let the agar cool to around 50-60°C, then pour 25 mL into each dish. Cool until the agar solidifies.
- Store the Plates: Once set, stack them upside down in a plastic bag and refrigerate to avoid condensation on the agar.
Tips for Success
- Use sterile techniques to prevent contamination.
- Label and date plates for reference, and experiment with different nutrient mixes for specific organisms.
Making your own agar plates is a cost-effective way to study microbes at home. Enjoy your DIY microbiology lab!